Affiliate Disclaimer
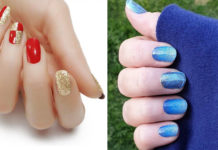
Some links in this article are affiliate links. We may earn a small commission if you make a purchase through these links, at no extra cost to you. We only recommend products we find useful to our readersEvery woman loves to pamper herself. Woman loves going to a salon for getting manicures and pedicure done. In manicure, the best part is nail polish. Gel nail polish adds the glossy shine to our nails. However, removing these gloss from the nails is the most difficult as well as the most challenging tasks. While in the process of removing a gel nail polish you end up, damaging the nail bed underneath, because the gel nail polish is set with UV light to harden it. So, due to which you end up visiting salon most of the time.
One cannot visit the salon every time for removing gel nail polish because it is time-consuming. So, here are some few steps to remove gel nail polish easily at home and also care for your nails from the harmful chemicals.
Tips To Remove Gel Nail Polish At Home
1Do not peel
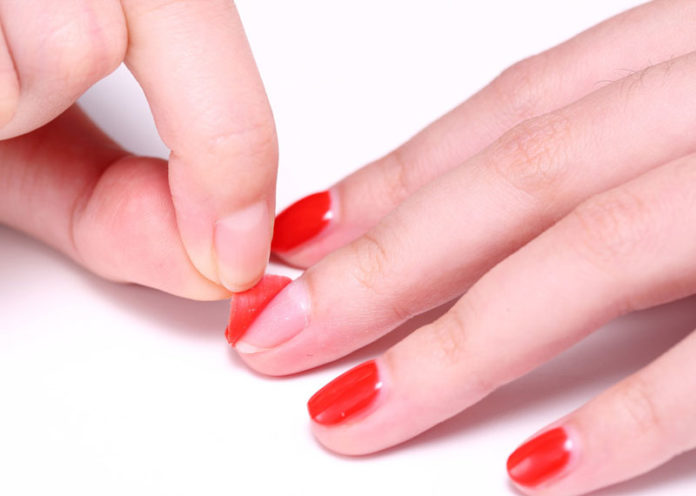
One of the biggest mistakes you do is to peel and scrap off the gel incorrectly. This can be very harmful. Think it like this; the cells in the nails are like the tiles on the roof. If you start pulling them off aggressively, you may not only remove the gel,but also the top layers of these delicate cells, and elaborate the pros.
2Time is Everything
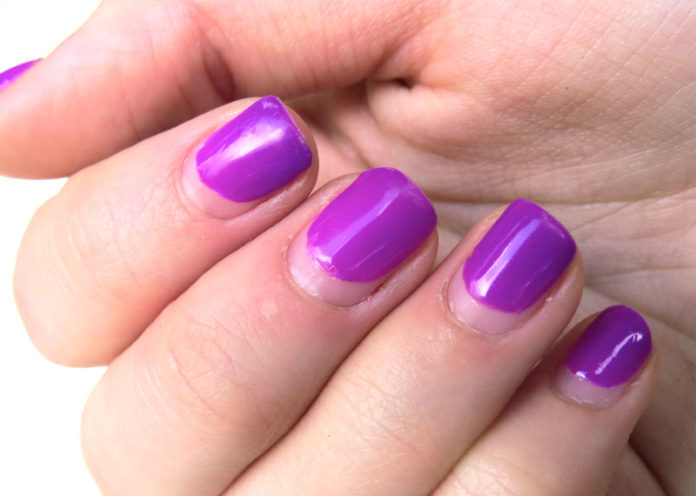
Remember the rule of thumb, that you can get two gel manicures back to back, but it should also intersperse with the regular manicure on the third week. Removing the gel manicure must be done on the 14-day mark, because the longer you wear a soak-off gel, the hard the product becomes to remove.
3Be Sure to use the Right Tools
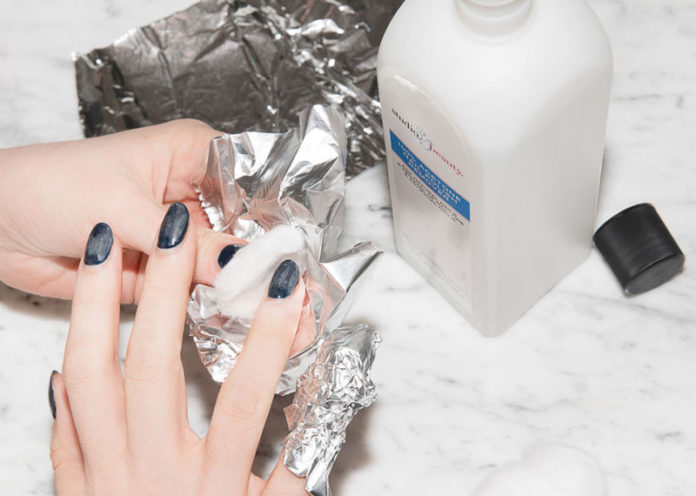
Removing gel manicure professionally, is optimal. But, with some little more patience, you can also achieve the same, with a non-damaging result even at home. It is possible, all you need is a acetone, foil, cotton balls and nail stick.
4Maximum Strength Acetone
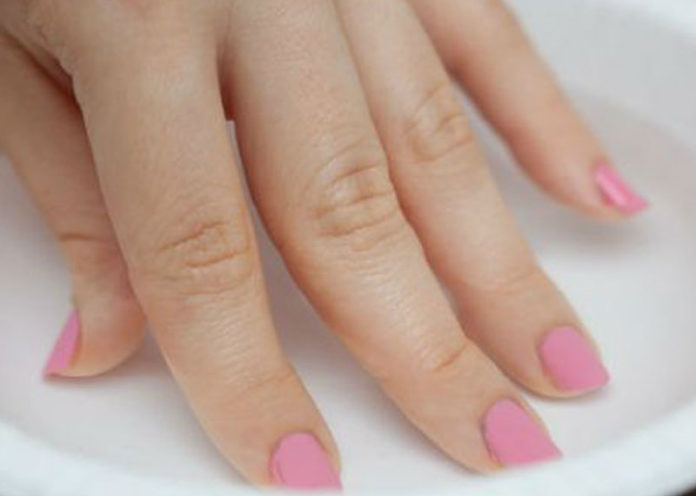
If you are thinking of spend a lot of amount on a brand name that specifically says that it is for gel removal, is not needed. If you buy also make sure that it has maximum strength and of course, which doesn’t say non-acetone.
5Protect the Cuticles
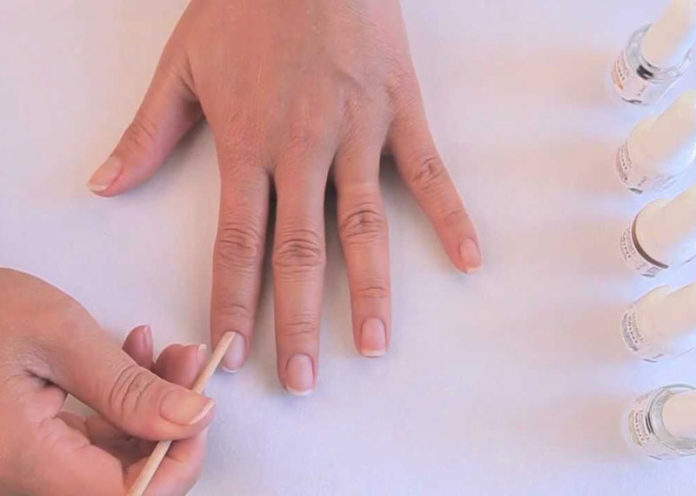
Creating a barrier between the acetone and the cuticle is the outmost key. To make the barrier, beauticians recommend the use of Aquaphor or Vaseline because you have to cover the entire nail bed with acetone-soaked cotton, be sure that that gel is removed properly. This barrier layer, can help in ravaging and drying, out the delicate cuticles, in the process.
6Let It Soak
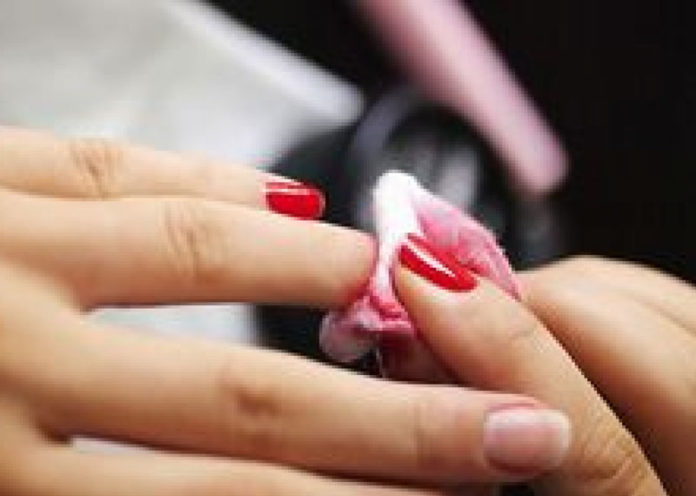
The soaking process in the gel nail polish is quite difficult, so assign that every nail is soaked in one cotton ball. Completely dosing in the acetone. Grab the pieces of foil, once it is wet and wrap it around the nail bed, with the cotton ball situated directly on top of the nail. How long you must let it sit is all depends. It can take 20, 30 or even 40 minutes to dissolve properly. If the nail has been soaked properly for a good amount of time, then the removal off the gel can be done with just a firm finger-pressure. If you see that the gel is till stubborn to come out, then grab the wood tool and scrap the spot gently.
7Moisturize Nails
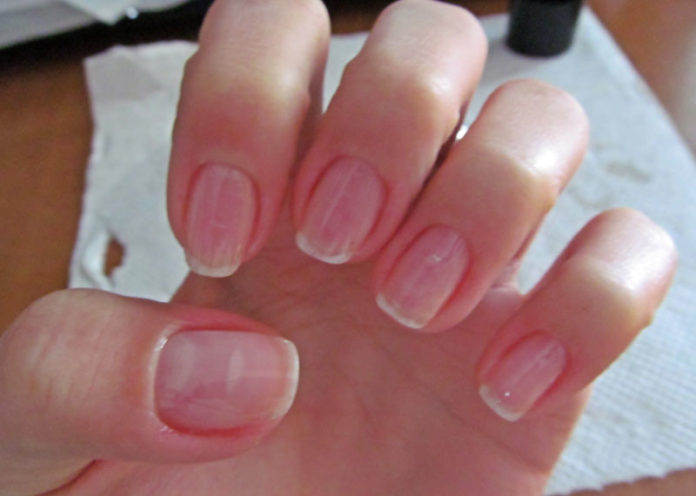
Once when the gel has been removed properly, the nail beds may look dry as well as brittle, so make sure to moisturize properly, with nail oil. Even some beauticians also recommend to revive nails post-gel, by overnight, hydration treatment. Remember to apply a healthy amount of Aquaphor or Vaseline, on the cuticles and rubbing gently on the nail beds right before the bed.
By –


