Affiliate Disclaimer
Some links in this article are affiliate links. We may earn a small commission if you make a purchase through these links, at no extra cost to you. We only recommend products we find useful to our readersFor ladies who sport those nice and sharp bangs , making salon trips, every few days to get them snipped all nice and clean, is definitely the most difficult part. Don’t even forget the extra money we have to shell out every time just for a 2 minute haircut. But what if we told you that there is a simple and free solution to your hair cut woes that will not amount to dragging yourself to the salon every other week? You’ll be thrilled, right? Well, so are we, since we found out the perfect way to cut your own bangs at home. Follow these simple steps and achieve those cute doll like fringes free of cost.
Fringes can be of two types, One is the straight fringe on same length and the other is side swept hair with varying lengths. We have for you ways to cut them both perfectly.
Straight/Blunt Bangs
These bangs fall straight over your forehead right from roots to the tips. They sometimes end over your eyebrows and some times cover them up. With graduated fringe at the sides this one looks really great on younger girls and women alike
1. Take a Section
Comb your hair off any tangles and brush it downwards. Now use a sharp end comb and choose a point almost 1 to 1.5 inches on your center part. Now draw a diagonal line from this point to the en of your eye brows. Do it for both the sides. Take this section in your hands and tie back all the other hair. Now this section will look like a triangle in the middle of your head.
2. Dampen The Section-
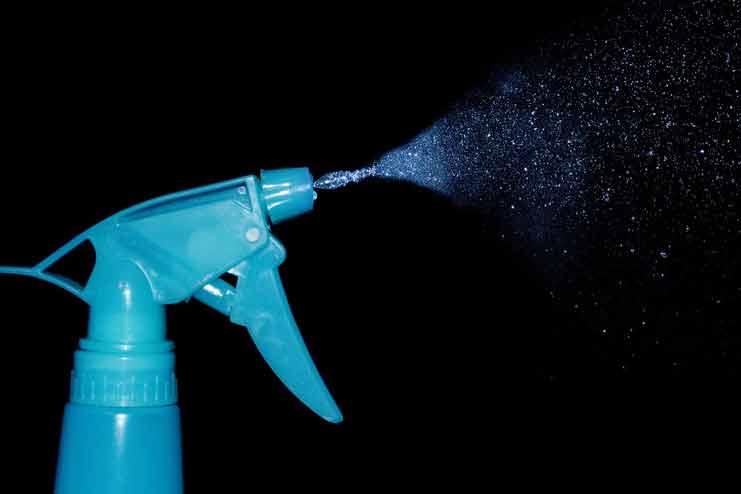
This step is important. If you are a first timer who is trying to cut her own bangs then do not skip this step. Dampen your hair normally or with a spritz bottle. Spray it over nicely and evenly. The wet hair is important as it will give you better hold and make the cut really steady. You can also optionally flat iron your hair for the first time to have a better idea of the length. After spraying it with water comb your hair again to open up any tangles.
3. Determine the length-
Try to determine the exact amount of hair that you want to cut off. Some people want their bangs to cover their eye brows while some prefer a clean sharp line just above their brows. Try to determine which look you want and what will suit your face cut. Make sure to Use a fine comb to brush your hair down once or twice and then hold the comb right above where you want to make the cut.
4. How to Cut your Own Bangs
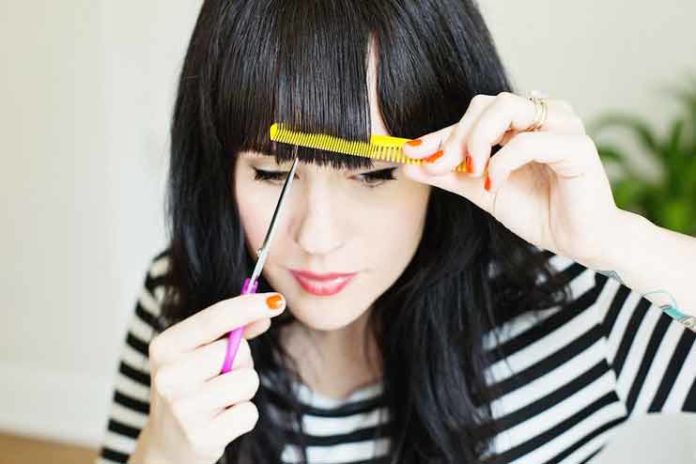
This is the most nerve wrecking step of them all. Your don’t want to mess up after all. The best way to avoid blunders is really simple. Section this single section into three more sections. Use the center most section and Comb your hair down. Hold the comb slightly lower than you want your bangs. This will give you extra room for correction. You can slowly go on cutting the length till you have reached your perfect length of bangs.
Now one by one take each side section and cut the length from inner corner towards the ear with increasing the length. That is, the Length in the center should be equal to the blunt bangs and to the side should gradually increase till it reaches the back of your ears.
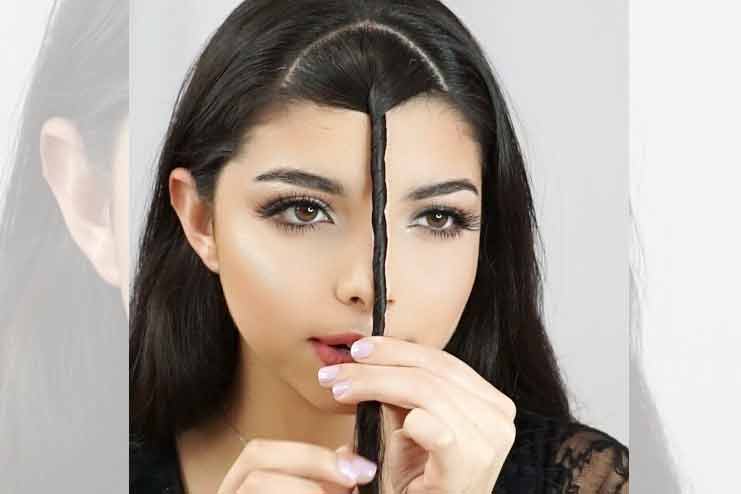
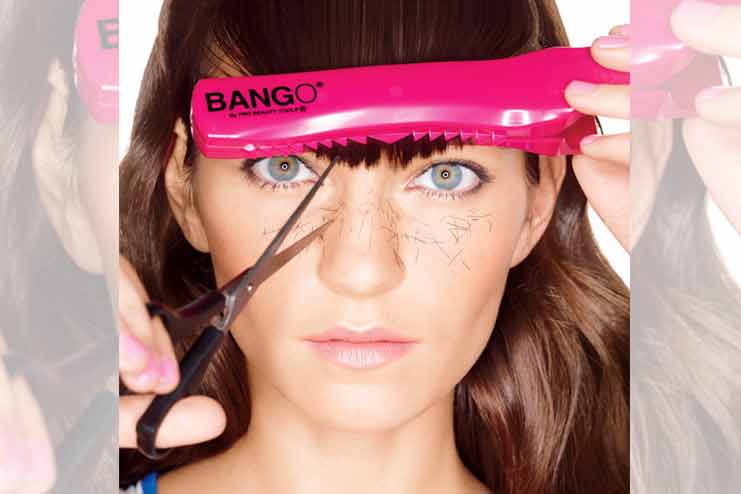
You can also use a tape to tape your hair and create a fine sharp line. Do not forget to tape a straight line. You can also twist the length f the section and make one single cut to achieve a straight line.
5. Soften the edge-
Now, Brush the newly cut bangs nicely and slowly makes small vertical cuts throughout the length of the bangs. This will make your fringes look more natural and graduated. This small step will makes a huge difference. It can either make your break your bangs look. Snip out any stray edges and cutting mistakes you might have made. Keep brushing out hair to see the effect of the vertical cuts and snips.
6. Style the Fringes
After cutting the bangs styling them is a pretty simple job. Just determine what you want to style your bangs like. You can flat iron it straight if you like the poker straight bangs that fall flat and silky. If you like the bangs to be curved and fluffed use a boar round brush and blowdry while rotating outwards. Flip the nbangs up and blow at the roots. This will make it look fluffy and curved.
Side Bangs-
These bangs are mostly opted by women who have a natural side parting, The hair is swept to a side of your face and the length f hair graduates towards the ear. It is a nice fringe that can frame any face and will go well with almost any face shapes.
1. Part a section-
Let your natural hair parting me the ruler of this style. Make your hair like you do every day. Make the parting and comb your hair in the forward direction. Try to remove any tangles and use a fine brush to make them straight and smooth. With a pointed end brush make a sharp line and draw a distinct section from behind one inch on natural parting on both the side. One side will have maximum hair and the other not many since it is sweeping in one direction. Make sure you follow your hair’s natural growing tendency and direction as reference.
2. Comb And Dampen Them-
Spray water over the two section and and nicely wet them. This step will give you a better hold and make it easy for the first timer to achieve a greater control over their cutting. Comb out any tangles and straighten your hair with a flat iron if you are unable to do so. Comb them in the direction that yu want your side sweeping bangs in.
3. Tie Other hair-
Take all the other hair and tie it up with help of a clip r a tie and keep them away from the front bangs. Make sure after tying the hair you see a sharp straight line as a parting separating these two sections. The tied hair will other wise try to mix up when you are cutting a section and you may end up snipping few wrong hair strands. We don’t want that.
 4. Determine the length and angle-
Determine the length of the bangs that you want and try to sweep it in the side you want. Try to see the length that you want should reach the ears or not. Accordingly comb your hair in the forward and side direction and decide how much you want to snip off.
5. How to cut your own side bangs-
Cutting the blunt fringes can be different from cutting these side sweeping fringes. The blunt fringes require a straight cut but these side swept fringes require more cutting finesse. The cut is to be made at an angle with shorter hair towards the parting and slowly increasing the length as you move towards the ears. Start off by cutting the length slowly. First make a cut slightly bigger that the length you desire. Then gradually you can cut off excess length to the exact desired length you want.
Make sure to maintain an almost 45 degree angle while making this cut. It will give a nice sweeping length while cutting your hair.
6. Soften the edges-
To give these bangs the finished look which looks effortless and graduated try to first comb out your fringes and part it like you would naturally do. Snip out any strays and rough edges, Try to maintain a flow of the fringe. Make vertical cuts in the bangs and smoothen out the edges of the fringe. This step will make your home cut bangs look like professional salon like, so do not skip this step, however simple it may seem it can make a huge difference.
7. Style your hair with bangs-
Last but not the least style your bangs like you wish. Do not always use a flat iron but once in a while you can straighten it out with an iron. Use a round brush to flip up your fringes and blow air at the base of the bangs. Comb them outwards and you have really nice and fluffy bangs that look voluminous and beautiful.
With hopes that these simple techniques give you the best possible results and you end up saving a whole lot of money on the hair cut,we would also like to mention that use this method only under the supervision of an adult or someone who can guide your scissors in the right direction. Do not attempt to do it on your own without help. It can be dangerous. Especially minors and young adults please take every precaution. We hope this helps you.

